Iced coffee is my life. When I wake up, often around the time party animals on the west coast are just heading home, I start each day not with a cup of freshly brewed hot java, but with a tall, blessed glass of creamy iced coffee in a glass. I’ve been an iced coffee freakazoid for years and years. To say I couldn’t live without it is an understatement. It gives me the tools I need to cope.
Iced coffee is a complicated thing, and there are many different approaches. One would think that one could merely pour brewed coffee into a glass full of ice and call it a day…but I find that method extremely flawed. First, no matter how packed with ice the glass is, once the hot coffee hits, some of the ice is bound to melt. This has two disastrous results:
1. The overall strength of the coffee flavor is diluted.
2. The iced coffee isn’t as cold as it could (or should) be. The finished glass of iced coffee should be frigid, not sorta cold with half-melted ice cubes floating around.
Given the previous set of facts, one would assume that the logical solution would be to brew hot coffee, then transfer the brew to the fridge, allow it to cool, and use it to make iced coffee from there. It’s an okay solution, one I subscribed to for quite awhile…until I picked up an issue of Imbibe Magazine three summers ago. It contained a huge spread on the subject of iced coffee, and suggested the following cold-brew method for creating a sort of iced coffee concentrate. I tried it immediately, have made it this way ever since, and can tell you that there is no better (or simpler) method for having the most delicious iced coffee at your fingertips.
There are reasons this method results in a smoother, richer, more delicious concentrate than simply brewing strong coffee and refrigerating it. I would take the time to explain them to you if I knew what they were. But since I don’t, I’m just going to show you instead.
(Note: I’ve totally adapted/tweaked coffee/water amounts to suit my own tastes. Experiment to find your own perfect ratio.)
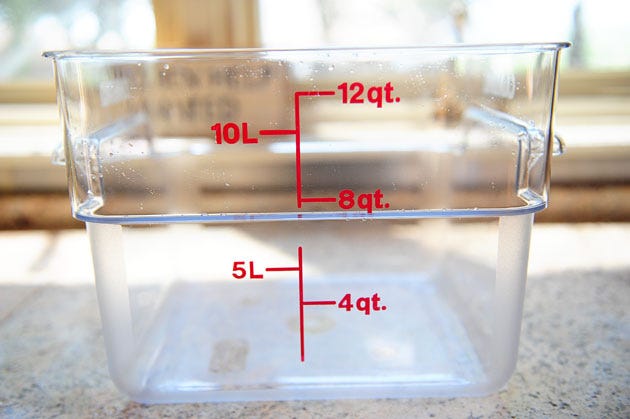
I start with a big ol’ container. I love these food storage containers, by the way. I got these at restaurant supply, but Sam’s Club had them last time I was there.
You can use a big bowl, a large pitcher…even a really clean bucket will work if you’re going for a huge quantity. (Or you can halve the original quantity and use a pitcher.)
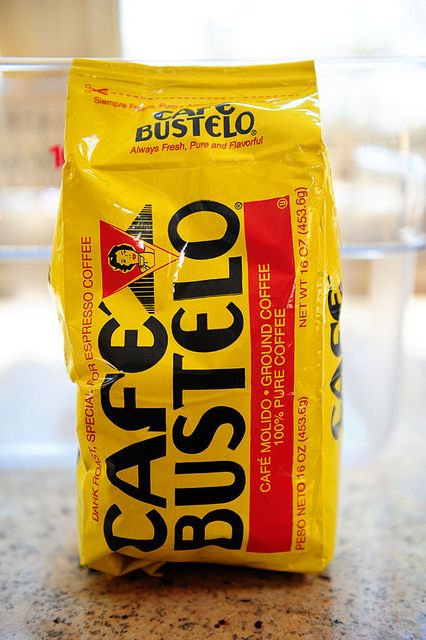
Rip open a pound of ground coffee. Any kind will do; the stronger and richer the better.
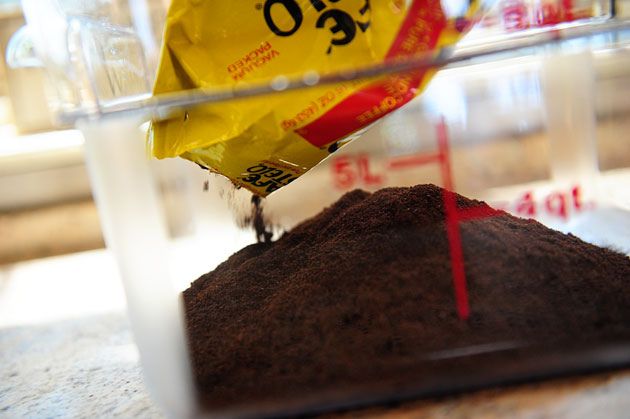
Pour in the coffee.
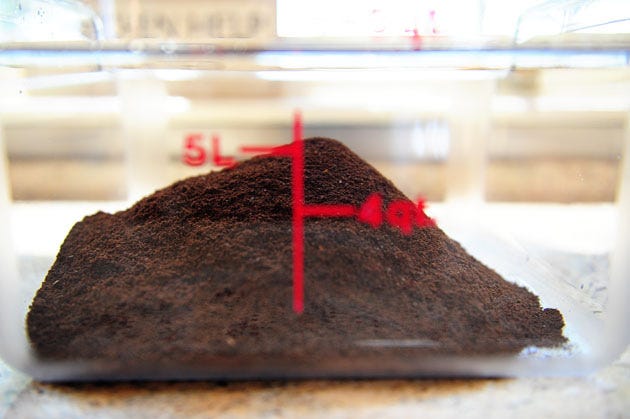
Mount Bliss. Who invented coffee, anyway? They should be awarded the keys to the city.
Or, at the very least, my heart.
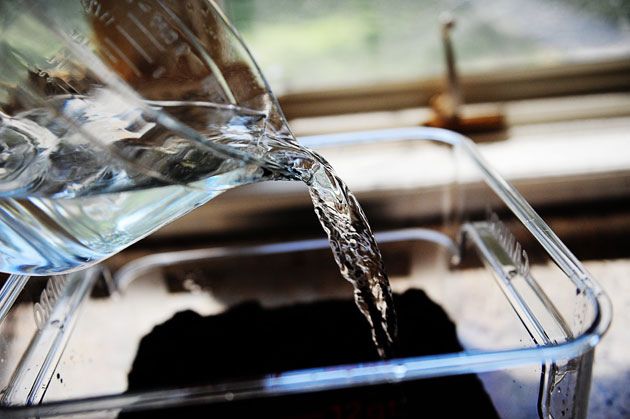
Pour in 8 quarts (2 gallons) cold water.
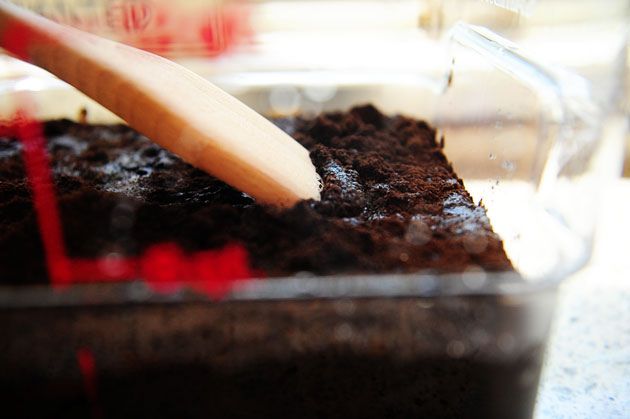
Give it a stir to make sure all the grounds make contact with the water…
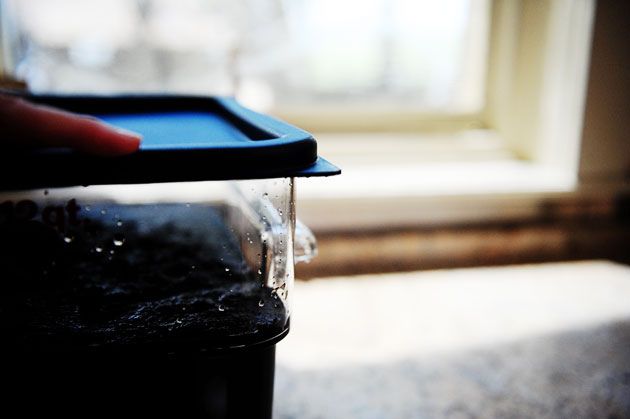
Then cover the container and go live your life as the coffee steeps for at least twelve hours. (And you can go much longer if you’d like.)
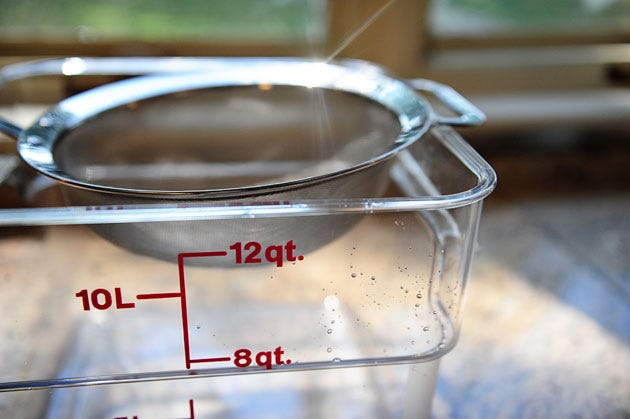
When the time has passed, grab a separate container and place a fine mesh strainer over the top.
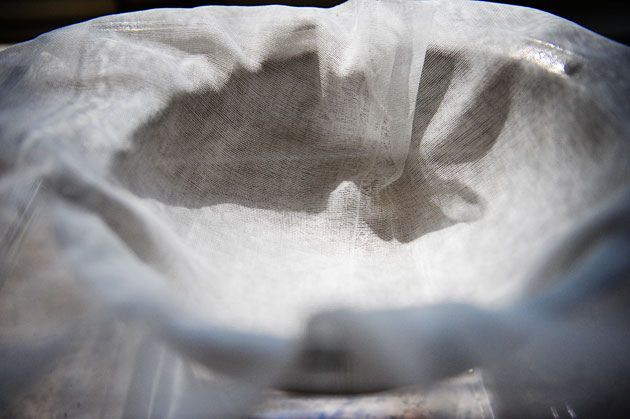
Place a couple of layers of cheesecloth inside the strainer…
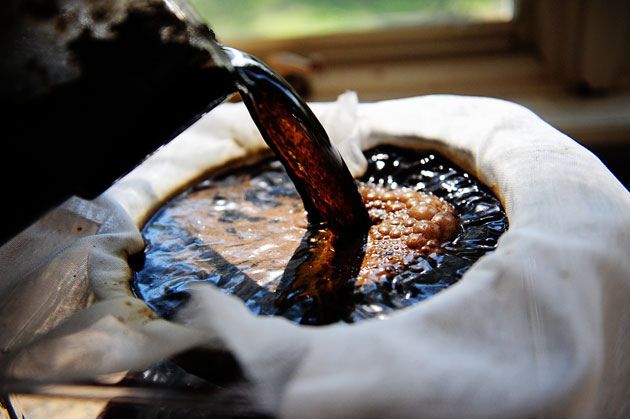
And slowly pour the steeped coffee through the strainer.
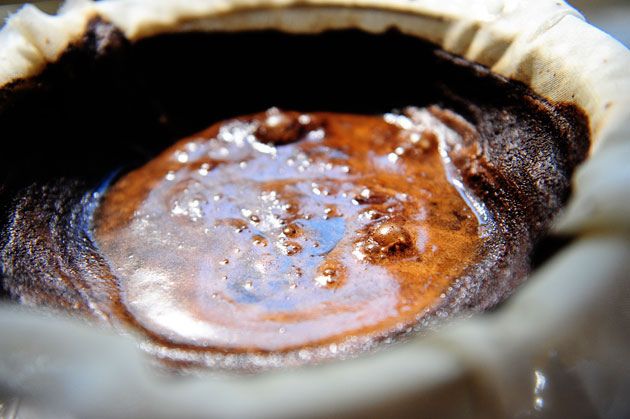
It’ll take awhile for all the liquid to pass through. (Doesn’t this look like one of the acid pools at Yellowstone?)
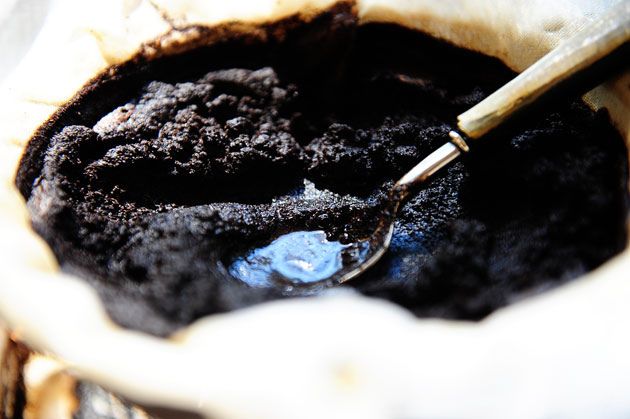
Use a spoon to gently press/force the last of the liquid through. And note: I’ve tried the straining method without the cheesecloth, and stray grounds did make it through the mesh strainer. Definitely try to use cheesecloth (or even paper towels) to filter out the finer pieces.
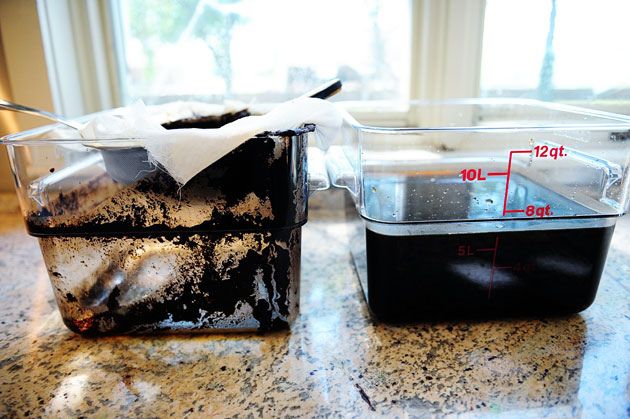
And there we have it. The dregs (left)…and the gold (right.)
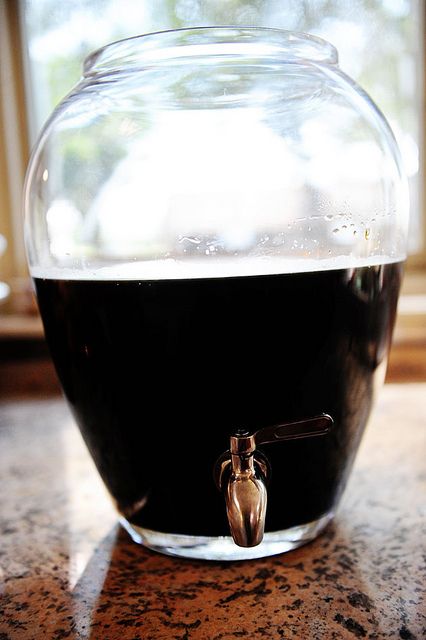
You can store the liquid in the same container, or you can transfer it to a pitcher or other dispenser. Though it’s difficult to wait, I refrigerate this gorgeous concoction before consuming it. It’s meant to be cold!
Note: this amount of coffee concentrate lasts me a good three weeks to a month if kept tightly covered in the fridge.
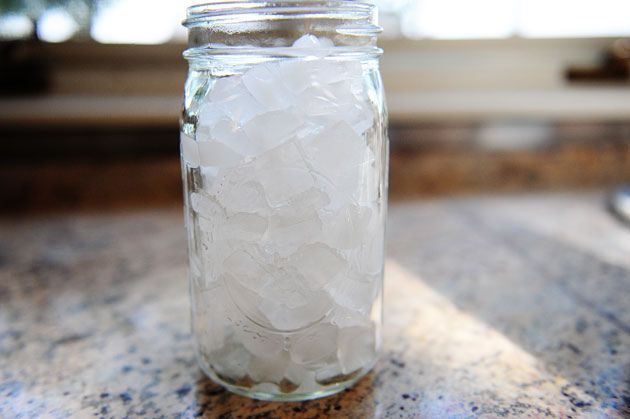
Now, when you’re ready to make yourself an iced coffee, you can do two things. Start by filling a glass with ice.
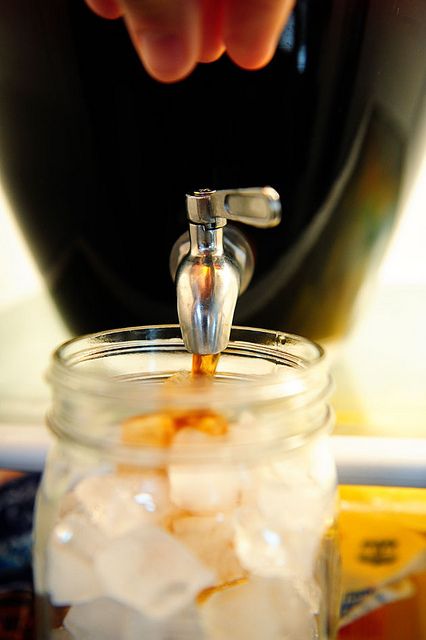
Reach into the fridge and dispense enough of the coffee liquid to fill the glass half to 3/4 full.
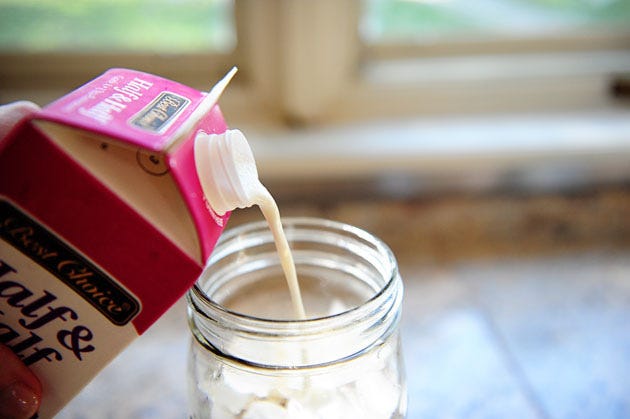
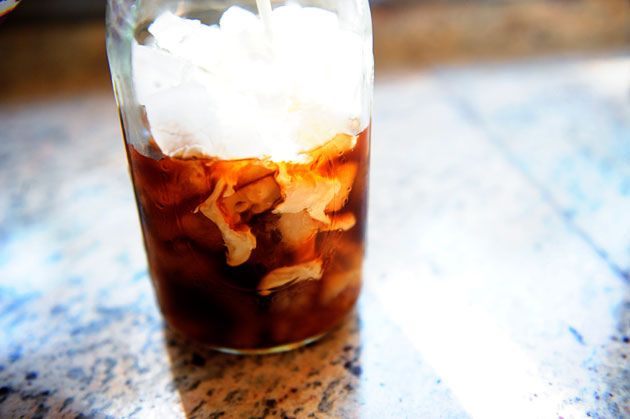
Splash in skim, 2%, or whole milk…or, if you’re a naughty, naughty bad girl like me: half-and-half.
My goodness.
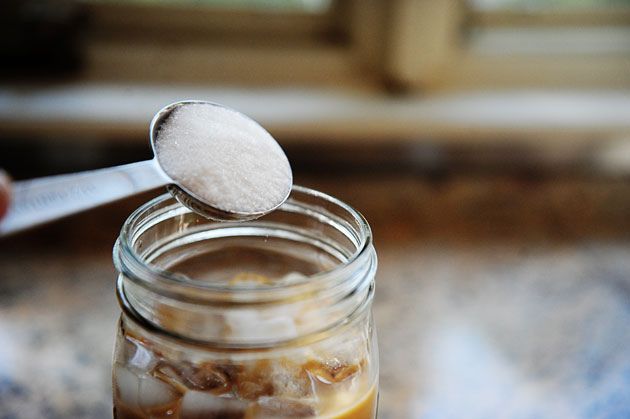
Add enough sugar to achieve the level of sweetness you like, or you can drizzle in vanilla or hazelnut syrup if you have those kinds of things lying around.
Stir it all up…
Stick in a straw…
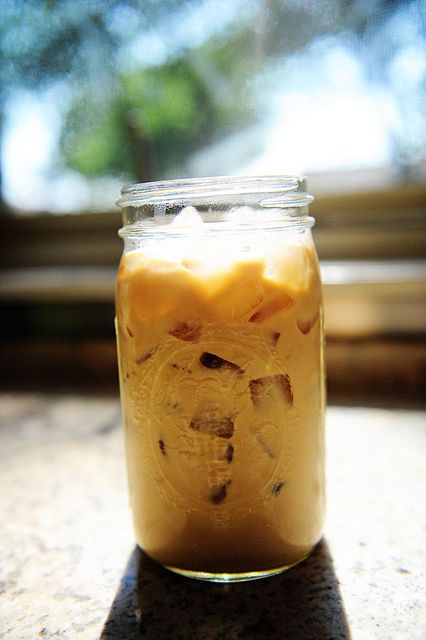
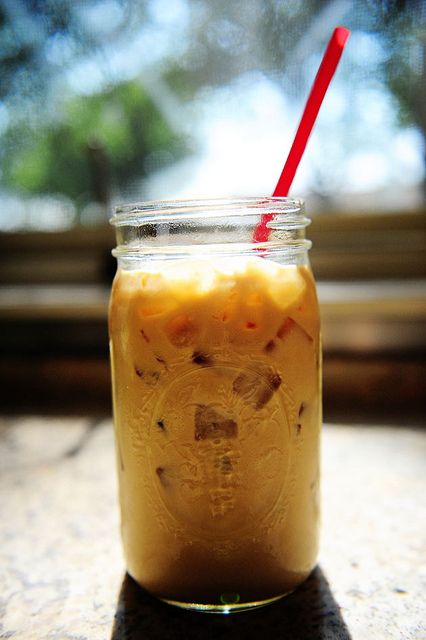
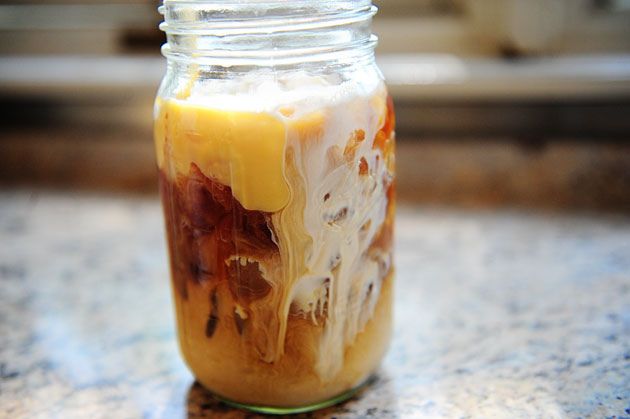
And go fer it. Look at that miracle. The ice is all there. The flavor’s all there.
I’m all there.
Variation: Vietnamese Iced Coffee
And now for something entirely different. Same…but different.
This is a variation on classic Vietnamese Iced Coffee, which actually does begin with a hot brew…but I’m using the cold stuff.
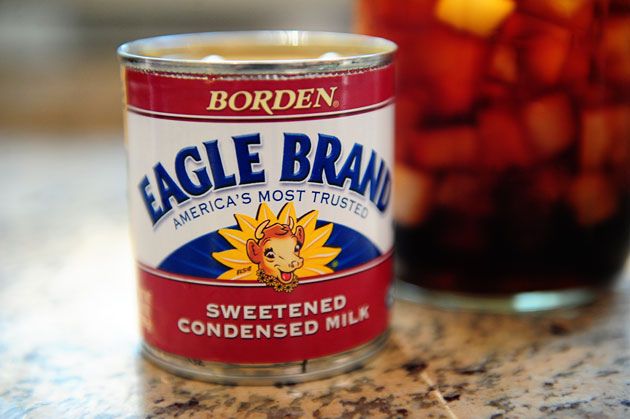
Fill the glass with ice and coffee concentrate as we did before, then crack open a can of sweetened condensed milk.
A glorious substance. One you should get to know better if you don’t already.
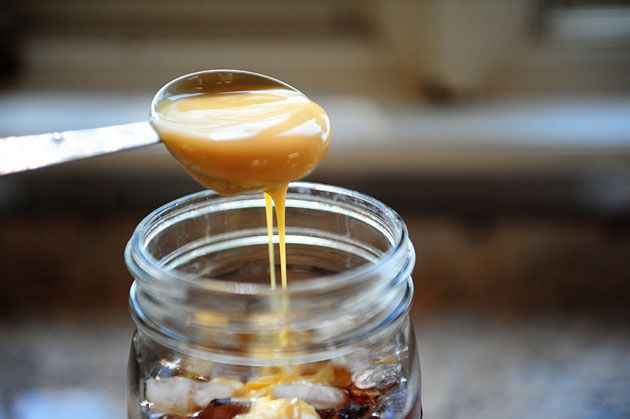
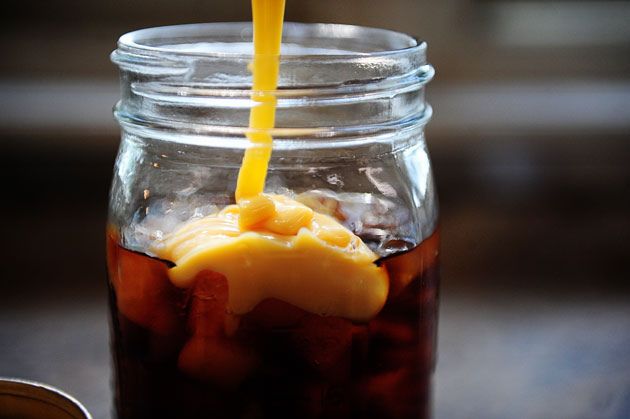
Drizzle in at least 2 tablespoons for a big glass (I wound up adding three.)
Come…to…MAMA.
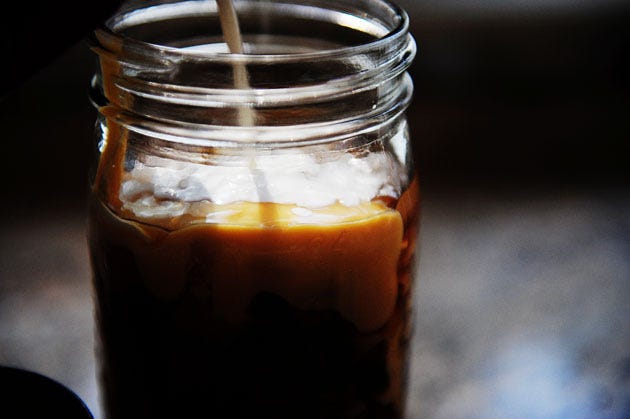
On top of this, add a small splash of milk or half-and-half.
(I recommend the latter, of course.)
Glorious.
Stir, take a small sip, and add a little more sweetened condensed milk if needed.
I’ve tried all combinations of milk, half-and-half, sugar, artificial sweeteners, flavored syrups, and sweetened condensed milk, and I will tell you that there is no more winning combo than the half-and-half/sweetened condensed milk mixture. It is out-of-this-world creamy and wonderful, and is worth at least a spot in your weekend rotation if you’re not willing to go there daily.
Either way, try this cold-brewed method of iced coffee sometime soon. The flavor, convenience (and cost savings) can not be underestimated.
